

 عربى
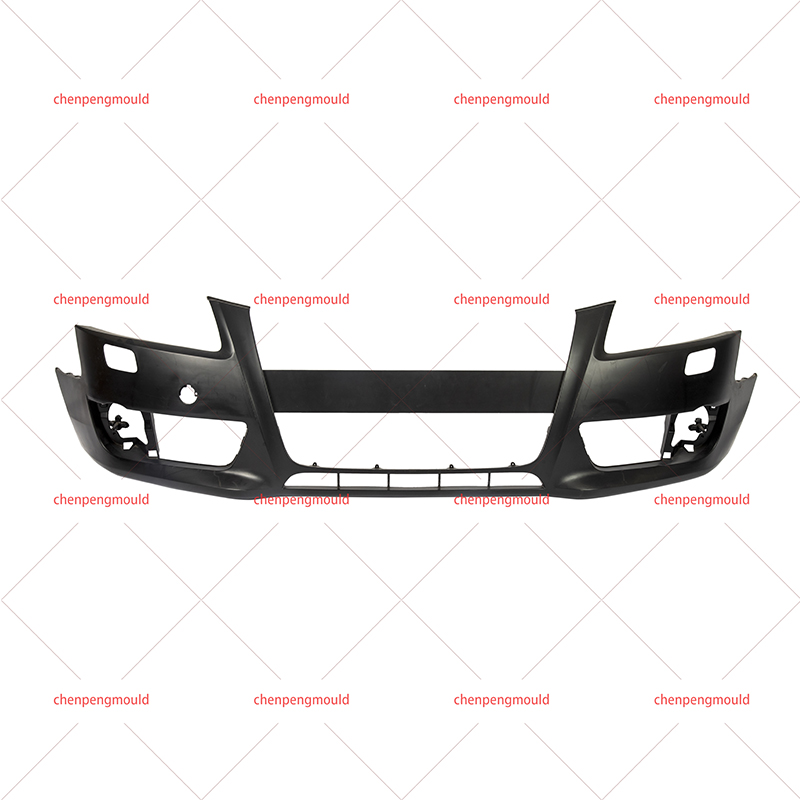
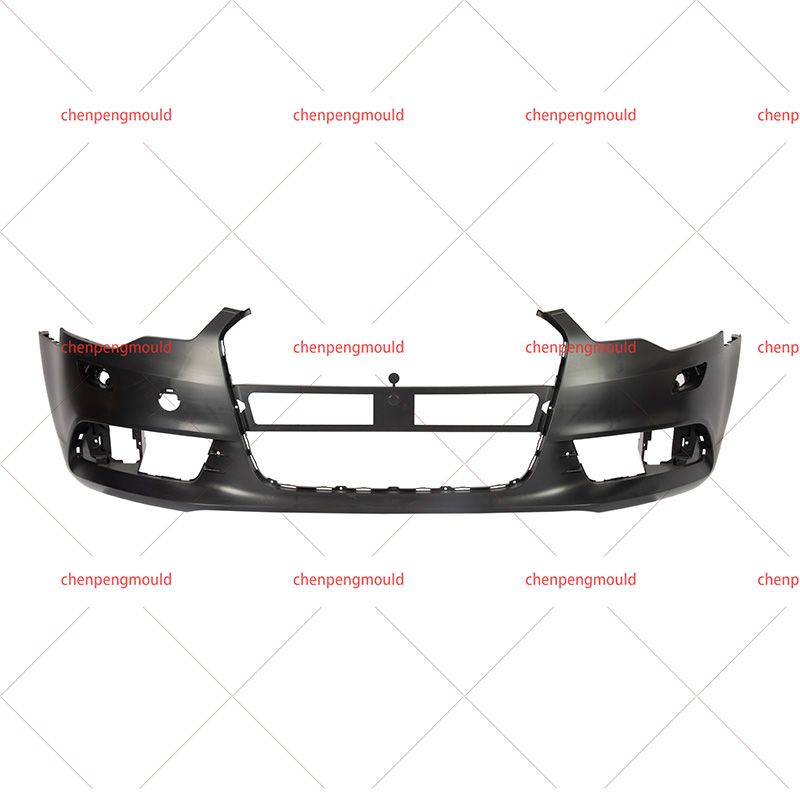
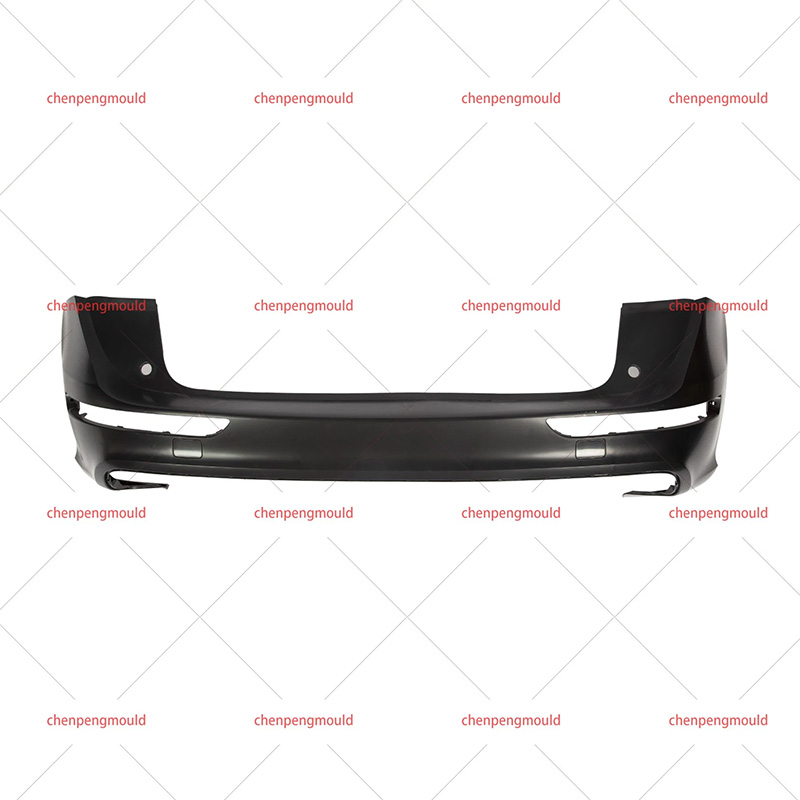
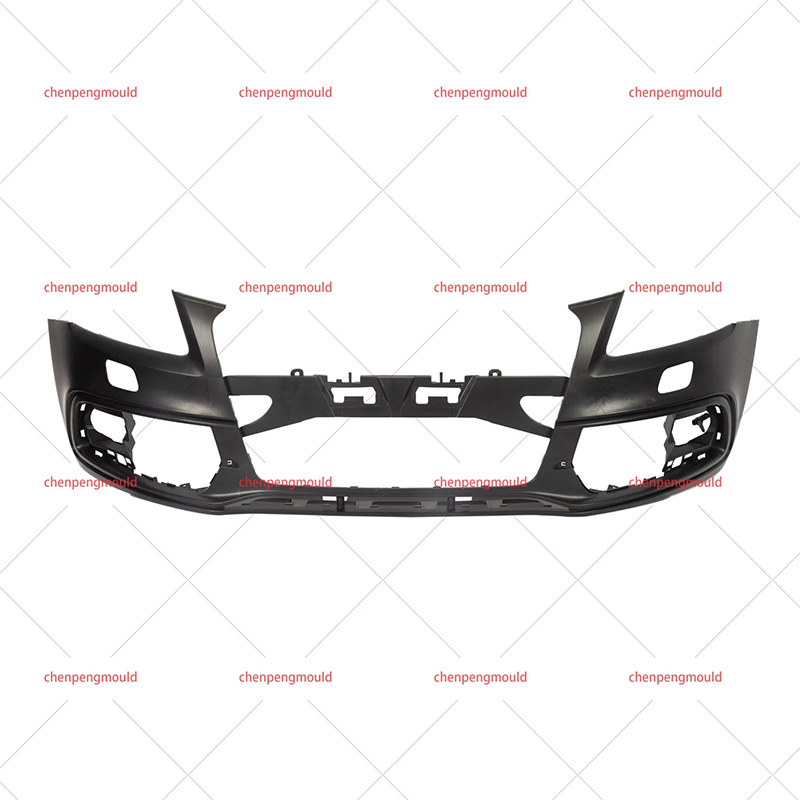
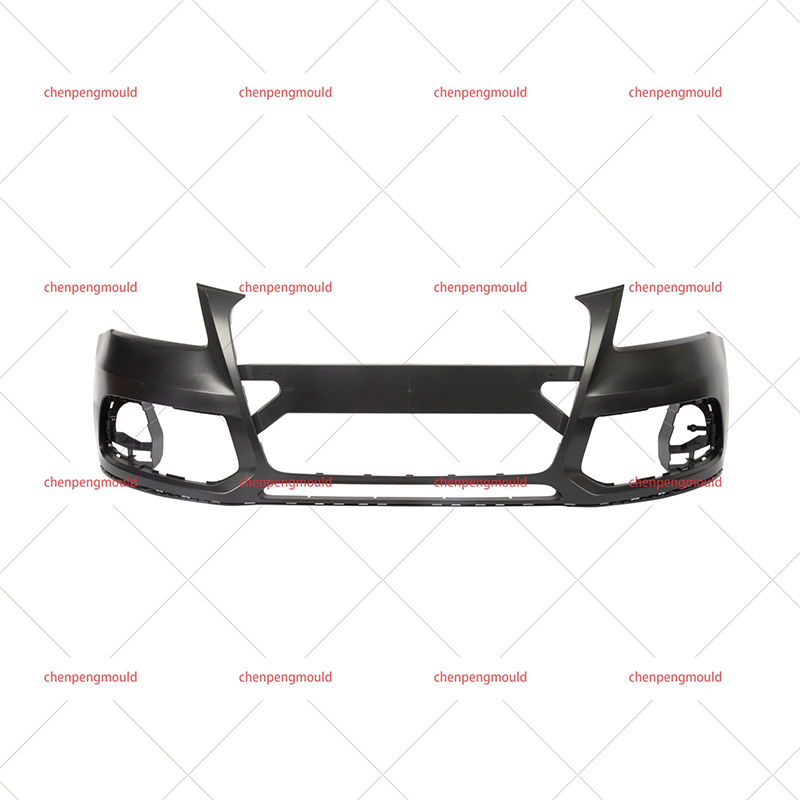
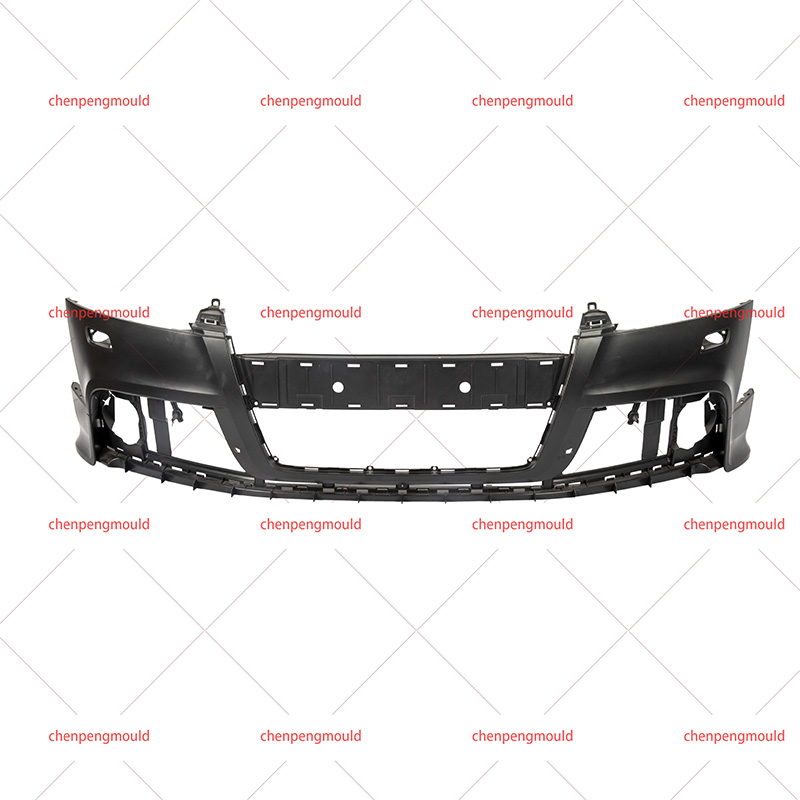
عربىLarge automotive bumpers combine appearance requirements, mounting accuracy, and impact-related performance expectations. Before authorizing regular production, buyers need to verify that the moulded samples meet the approved drawings and project specifications. A structured bumper injection molding sample review helps purchasing teams identify tooling issues, dimensional deviations, and cosmetic defects before these problems affect a larger batch.
First-sample approval should involve more than checking whether a bumper looks acceptable. Engineering, quality, and procurement teams need documented evidence covering dimensions, material identification, surface appearance, assembly fit, and the status of outstanding corrections. The required inspection scope depends on the vehicle application and customer requirements.
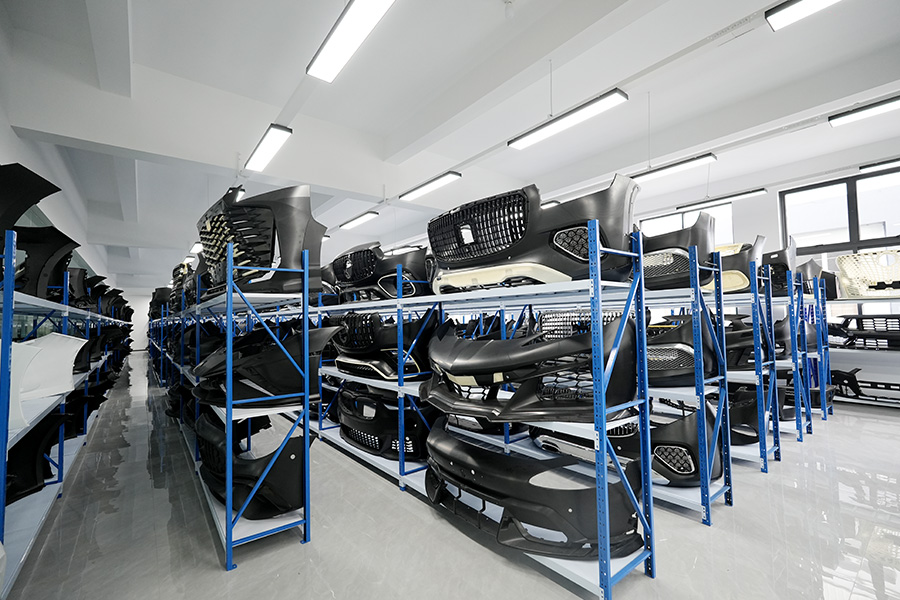
1. Confirm Drawing Revisions and Material Specifications
Before inspecting a sample, buyers should confirm that it represents the correct product configuration. Differences in drawing revisions, resin grades, or surface specifications can make inspection results difficult to interpret.
Check the following information before starting the review:
- Drawing revision: Match the physical sample to the latest approved 2D drawing and 3D CAD model.
- Material grade: Verify the specified resin, such as an approved polypropylene compound, including any required impact modifiers or fillers.
- Color and texture: Confirm the required color code, grain pattern, gloss level, and surface finish.
- Sample traceability: Record the mould identification, sample date, and cavity information where applicable.
Material identification matters because different formulations can exhibit different shrinkage, stiffness, flow behavior, and surface characteristics. A sample made from an unapproved substitute should not automatically receive acceptance simply because its dimensions appear satisfactory.
2. Inspect Critical Dimensions and Mounting Features
Bumper assemblies connect with brackets, fenders, lighting components, grilles, and other vehicle structures. Small dimensional deviations around mounting points may cause alignment problems even when the exterior surface appears acceptable.
Buyers should prioritize dimensions that influence assembly and function, including:
- Mounting-hole positions: Verify hole locations and spacing against the approved drawing.
- Clip and bracket interfaces: Check locating features and attachment points for correct fit.
- Overall profile: Measure relevant length, width, height, and contour dimensions.
- Parting-line areas: Inspect edges and mating regions for flash or dimensional irregularities.
Measurement methods may include coordinate measuring machines (CMMs), suitable gauges, fixtures, or other calibrated equipment. The inspection plan should identify the datum system, measurement conditions, and acceptance limits.
For example, a drawing may specify a mounting-hole spacing of 120.0 ± 0.5 mm. The acceptable interval would be 119.5–120.5 mm. This is an illustrative value rather than a universal bumper specification; actual limits must come from the approved engineering documentation.
3. Evaluate Surface Appearance Under Defined Conditions
Exterior bumper components are highly visible, so cosmetic acceptance needs clear criteria. General comments such as "good appearance" leave room for different interpretations between the buyer and manufacturer.
Review the sample for the following conditions:
- Sink marks: Local depressions that may appear around thicker sections, ribs, or bosses.
- Weld lines: Visible flow-front meeting lines that may affect appearance or require engineering assessment.
- Flash: Excess material along the parting line or around mould features.
- Surface variation: Differences in texture, gloss, color, or visible flow patterns.
- Handling damage: Scratches, dents, or scuffs caused during demoulding, inspection, or transportation.
Inspection conditions should be agreed in advance, including viewing distance, lighting, visible inspection zones, and any approved reference samples. A scratch on an exposed painted surface may require a different disposition from a minor mark on a concealed mounting area.
4. Check Warpage and Assembly Fit
Large moulded panels can develop dimensional distortion because of uneven cooling, material shrinkage, wall-thickness variation, or residual stress. Warpage may affect the fit between the bumper and adjacent body components even when individual dimensions remain within their specified limits.
Useful checks include:
- Place the bumper in the agreed inspection fixture or support arrangement.
- Check overall contour and alignment at designated reference points.
- Test mounting clips and brackets against their mating components.
- Record gaps, flushness differences, and any attachment difficulties.
Assembly evaluation should use the relevant mating components or an approved checking fixture whenever required by the project. Unsupported visual judgment may miss problems that appear only after installation.
5. Review the First-Sample Inspection Report
A useful inspection report connects the physical sample with measurable requirements and a clear approval decision. Photographs can document surface defects, but they cannot replace dimensional measurements or required functional tests.
Ask the supplier to provide the following records as applicable:
- Part number, drawing revision, material grade, and mould identification.
- Required dimensions, tolerance limits, actual measured values, and inspection methods.
- Photographs of cosmetic defects and their locations.
- Assembly-fit results and other specified functional checks.
- A list of nonconformities, corrective actions, and outstanding approval items.
For multi-cavity tools, confirm whether cavity-specific identification and inspection results are required. Recording the source of each sample helps engineering teams investigate variation rather than treating all parts as an unidentified group.
6. Decide Whether to Approve, Correct, or Request Another Trial
Sample approval should follow the agreed acceptance criteria rather than a general impression of quality. The review team should classify each issue according to its effect on function, dimensions, appearance, and contractual requirements.
- Approve: The sample meets the applicable requirements, and the required inspection evidence is complete.
- Request process adjustment: A verified issue may be addressed through an approved change to moulding conditions without modifying the part design or tooling.
- Request tooling correction: A confirmed tooling issue requires a documented modification and subsequent verification.
- Request engineering review: A design or tolerance conflict requires authorization from the responsible product engineer.
- Require another sample round: Revised samples and inspection records are needed to demonstrate that outstanding issues have been resolved.
Approval of an initial sample does not automatically establish long-term production capability. Projects may require additional pilot-run checks, process validation, or customer-specific automotive quality documentation before recurring production is released.
Evaluating bumper moulded samples requires coordinated review of material identity, critical dimensions, cosmetic quality, warpage, assembly fit, and inspection records. Buyers should define acceptance requirements before the tooling trial and ensure that every reported issue receives a clear disposition.
A documented approval process gives the buyer and moulding supplier a shared reference for engineering corrections and production release. By connecting physical samples to approved drawings and measurable criteria, purchasing teams can make better-informed decisions and reduce uncertainty before committing to recurring orders.
 +86-18357617666