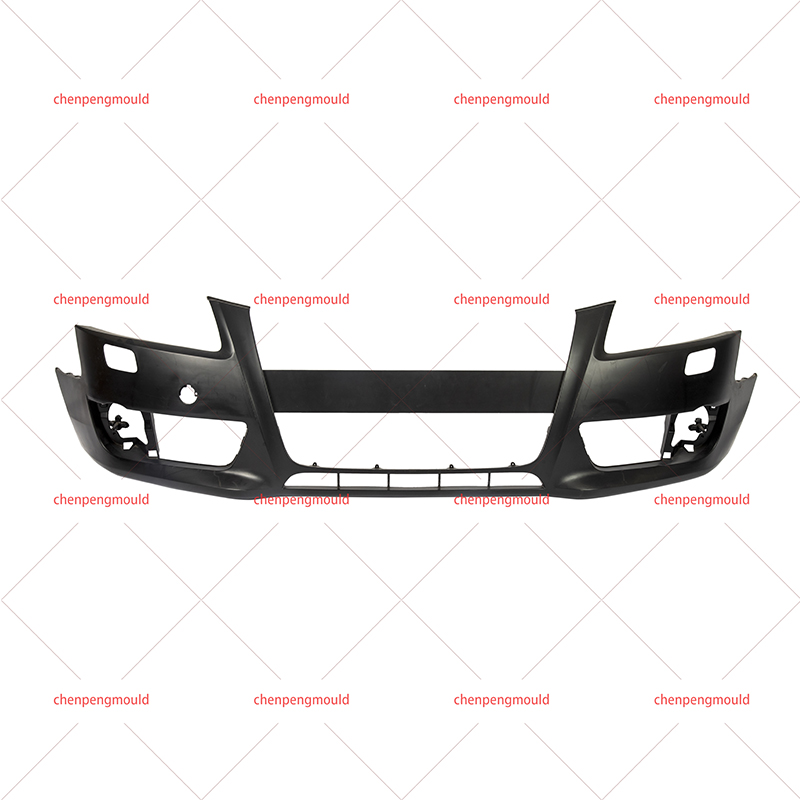
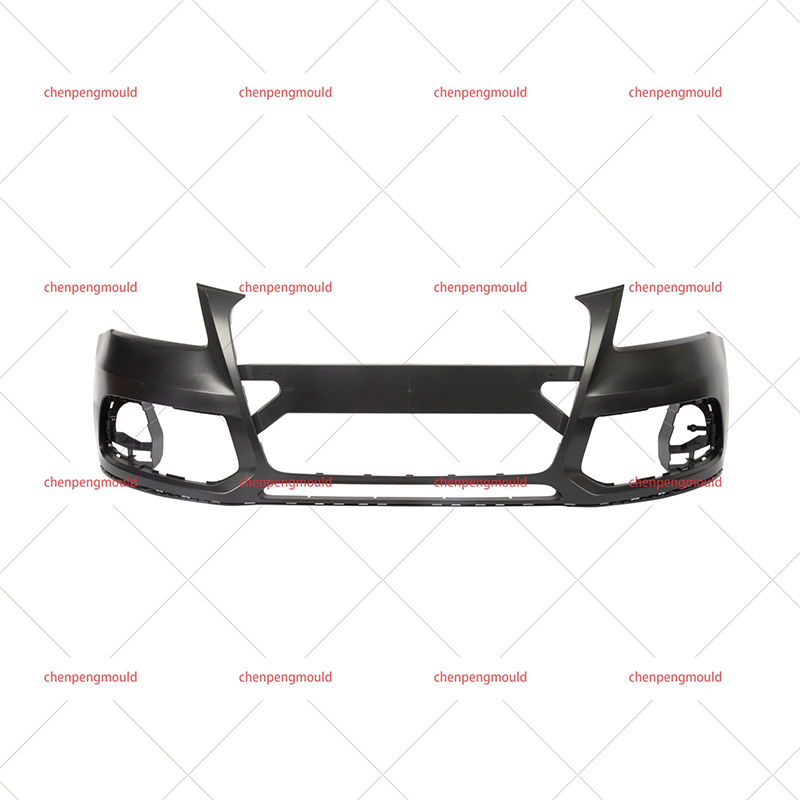
Factors determining repairability include the type of damage, molding material, and location of damage.
Repairable damage conditions:
Small tears (length under 25 mm) on flexible PUR moldings: Clean the tear edges with isopropyl alcohol, apply two-component urethane adhesive (e.g., 3M 04240), and clamp for 2–4 hours. Adhesive strength reaches 3–5 MPa after full cure (24 hours), approximately 60–70% of the original material strength. Repair lasts 2–4 years under normal use.
Faded or chalked unpainted black TPO/EPDM: Chalking (a white powdery surface from UV degradation) up to 0.1 mm depth can be removed with a heat gun (250–300°C passed across surface at 50 mm/s). Heat restores black color by remelting the surface layer. This effect lasts 6–12 months before fading returns. Alternatively, wipe with a trim restorer containing 15–25% mineral oil; reapply every 3–4 months.
Non-repairable conditions requiring replacement:
Cracks extending more than 50% of molding width or length: Vibration during driving propagates cracks. A 30 mm crack at 5 mm width can extend to 80 mm within 2,000 km of highway driving. Repairing such cracks with adhesive results in re-cracking within 3–6 months.
Missing sections (gaps larger than 10 mm): No cost-effective repair method restores the original contour. Replacement required.
Twisted or warped moldings: Heat exposure (cabin temperatures above 80°C trapped behind the molding) can warp TPO and ABS beyond 5–10 mm out of original shape. Heat gun reshaping (150–180°C) may correct warpage up to 15 mm, but the material loses 20–30% of its original stiffness after reheating.
Chrome-plated ABS with peeling chrome: Chrome adhesion loss affects the entire piece; spot repairs are not possible because electroplating cannot be reapplied locally. Replacement cost typically $200–600 for plated moldings.
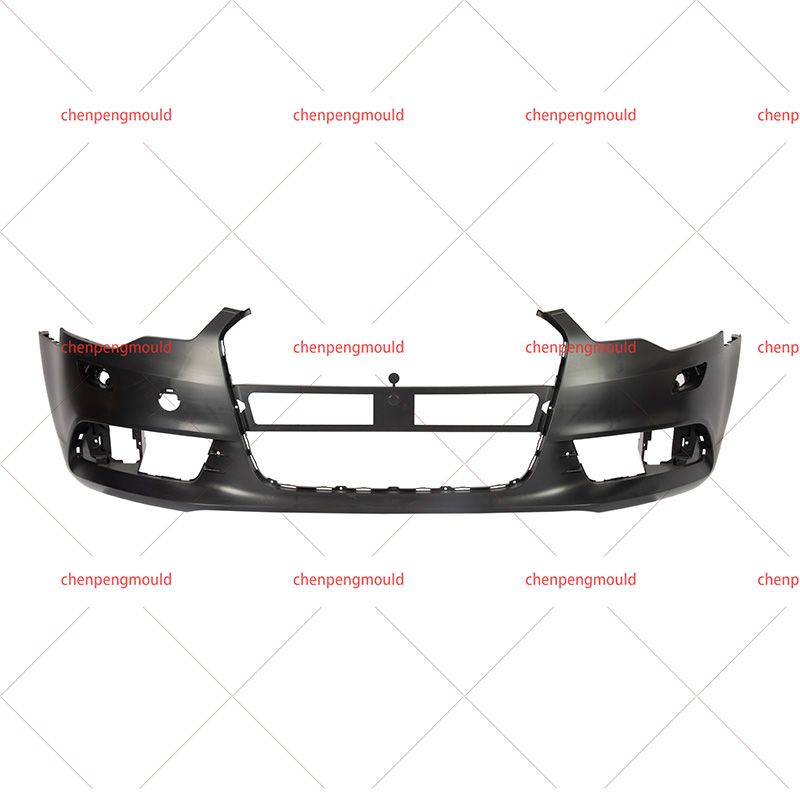
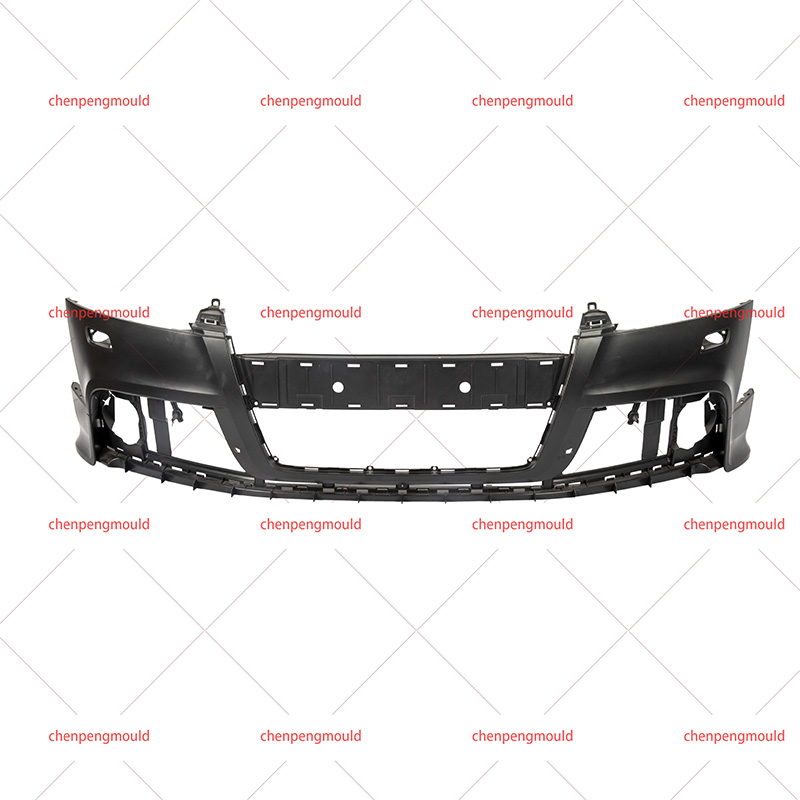
How is a front bumper molding installed or replaced correctly?
Installation methods vary by molding type. The following procedures cover the three most common attachment systems.
Double-sided tape attachment (most common on trim strips 10–40 mm wide):
Remove the old molding using a heat gun (70–90°C) to soften the adhesive, then pull with plastic trim tools. Residual adhesive is removed with a rubber eraser wheel (1,500–2,500 rpm) or isopropyl alcohol.
Clean the bumper surface with a 50:50 mixture of isopropyl alcohol and water. Wipe until a white cloth remains clean.
Apply adhesion promoter (3M 06396 or equivalent) to the bumper surface. Allow 2–3 minutes to dry.
Remove the tape liner from the new molding. Position the molding with a 1–2 mm gap from reference edges (e.g., headlight corner or wheel arch). Press firmly (15–20 kg force) along the entire length.
Apply pressure with a roller (3–5 cm diameter, rubber roller) using 2–3 passes. Maintain 25–30°C ambient temperature for at least 1 hour after installation. At temperatures below 10°C, adhesive takes 12–24 hours to reach full bond strength (approximately 25 N/cm peel strength per ASTM D3330).
Clip or fastener attachment (common on lower valances and corner pieces):
Inspect clips for damage; replacement clips cost 0.50–2.00 each. Push the new molding onto the bumper until an audible click confirms engagement. Verify that all clip positions (typically 6–12 per molding) are fully seated. A gap larger than 1 mm between molding and bumper indicates an unseated clip.
Bolt or screw attachment (on heavy-duty truck moldings):
Use a torque screwdriver set to 2–4 Nm for plastic moldings, 5–8 Nm for steel moldings. Overtightening cracks ABS or TPO around screw bosses. Apply a small amount (0.1–0.2 mL) of thread-locking compound (low-strength, purple or blue) to screws to prevent loosening from vibration.

 +86-18357617666